 |
||
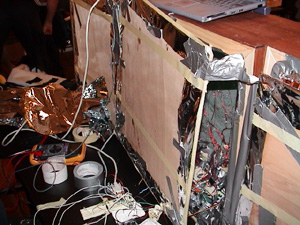
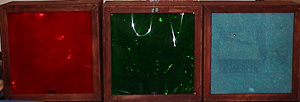
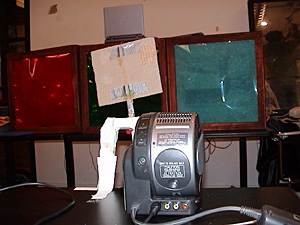
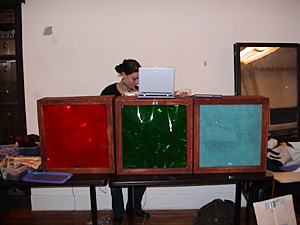
I ended up working with Beverly on this project. I helped her put together a triptych piece. The three pieces were boxes similar to my original idea of playing with windows. The boxes, Red, Green and Blue each had different lighting events happening when viewers triggered proximity sensors. Environmental pieces which react to the on-goings of the room around them in different ways. |
||
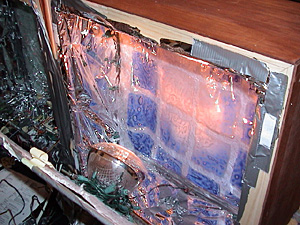
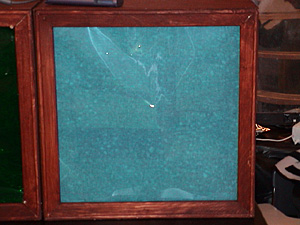
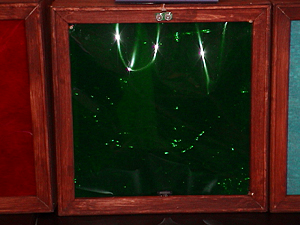
| All the boxes had x-mas lights on them, so that in a dark non-interactive state, they were slightly lighted up. If someone initiated the red box, the x-mas lights would turn off and a heat light would turn on. The heat light would turn some ink squares from dark blue to light. This box we considered to be the linear or formatted box. The green one was considered to be organic in nature. When the x-mas lights were turned off, small incandescent lights would light up. The incandescence were arranged in a non-linear form and attached to a switch, which would move to connect different arrays of the lights. The blue box was a video piece. When someone tripped the prox sensor a "switch" would turn on a video projection of the room. The image projected was pasteurized and of the room around them. Inside the blue box we taped textured paper and velum to create a feeling of depth. |
 |
|
 |
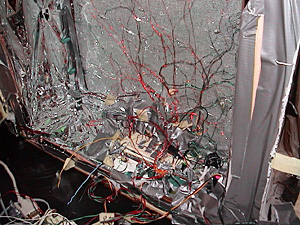
Well, that was how the piece was supposed to work. We actually got it working for the most part the night before we were to present it in class. But as luck or Murphy continues to remind us something will always go wrong. The first problem is the BX environment. It continually does not read files, upload files or really work in any consistent manor. Then once we (Beverly) did get it working the board shorted out or something over heated. The wires connecting the servo for the video were in the way of people walking and got pulled out a few too many times as well as reconnected wrong causing the servo to smoke. It’s only funny when something’s burning. | |
|
My impressions of the process:
|
 |
|
|
|
||
 |
On
the night before we were to present the boxes, the lights and switches
seemed to work ok. Not great, but at least the proximity sensor would
turn on and off lights and control the servo. However, on Friday morning,
nothing seemed to work. We seemed to be having a grounding problem
or something. So we were only able to demonstrate how it was supposed
to work. It’s all a learning process. My real goal with this project was to project live video in an interesting way. To have people see the world around them in a different light. I worked with using Director and "track them colors" to distort the live image. It was actually easier than I thought it would be. I just had to figure out the lingo. I could have been more elaborate with using TTC, I really did not use it to its fullest extent or even in a very profound way. But what was interesting was the use of the box and the depth we created with the layers of different textured paper. |
|||
|
Lingo
Code: on
StartMovie on
StopMovie |
|
|||
|
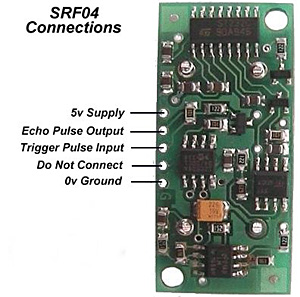
The code for the servo was a bit difficult to figure out. I had the code for the prox sensor and the code for the servo, so marrying them was the strange part. The prox sensor we used was an ultrasonic one. It works great and is not that difficult to hook up. On the advice of Katherine Bruce I used a phone cable to connect the five pins on the SRF to the bread board. sub
flashme(byVal flashx as byte)
loop |
 |